This page shows all the details about a notification, and gives access to all operations that can be made in notifications.
This page can be accessed from the notifications list, the Notifications tab of the channels detail page, or by following any link that refers to a notification.
The page contains the following tabs:
General
The general tab contains the signaletic information of the notification, and offers actions that act on the whole notification.
A name that you can set and/or modify to easily retrieve and manage your element. |
|
A free text field that you can set and/or modify used in addition to the element name to help you identify your element usage and/or function. |
|
A unique identifier automatically set by the Babelway platform. |
|
Date and time of element creation. |
The Save action button allows you to save the changes that you have made in this tab (name and description).
The Delete action button allows you to delete the notification, but it is only accessible if the notification is not used in any channel.
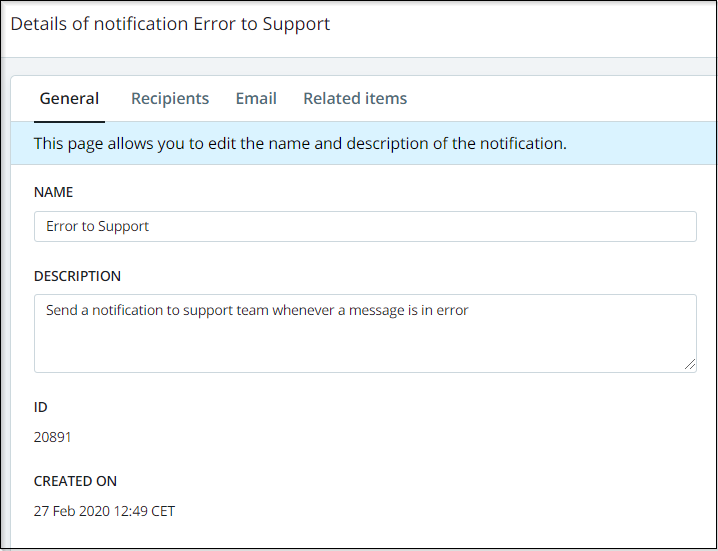
Notification detail - tab General
Recipients
This tab allows you to determine who should receive the notification emails.
This table allows you to choose who will receive the notification, among all the users that can access the environment. |
|
|
This table allows you to add other email addresses, to which notifications will also be sent. For email addresses of your users, we recommend that you select them in "Target users", and not add them here. The advantage of placing them in "Target users" is that their email will be automatically updated when you change the signaletic of the user in the admin section, or the user will be automatically removed from the notification if you remove the access to your environment to this user. To add an email to this list, just add the email in the input field in the last line of the table, and save. Emails are automatically removed if you unchecked all check-boxes in a line. |
|
|
This table allows you to choose what Internal gateway In will receive in the notification among all the internal gateways that are defined in the environment. Note that selecting an inactive gateway (not deployed in production) will prevent the environment to deploy. |
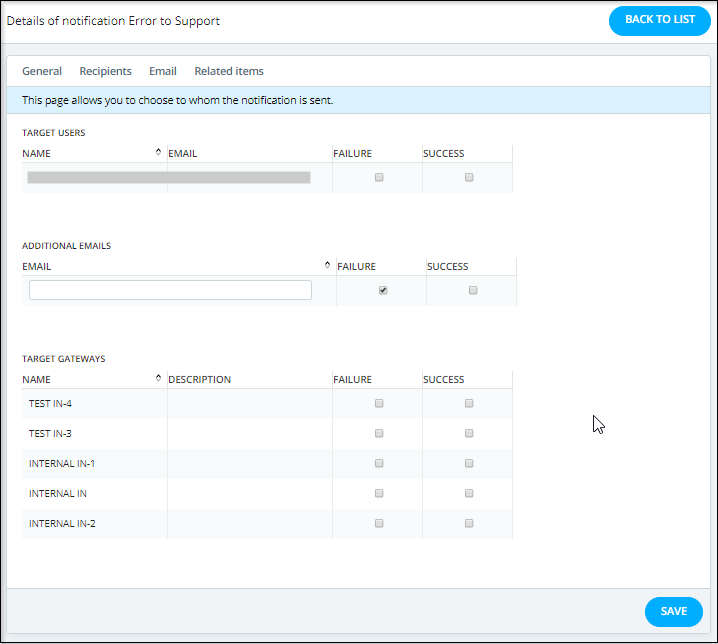
Notification detail - tab Recipients
Note: We can use the "Target gateways" to send the Message Level Response MLR received from PEPPOL Gateway Out for this channel to a second channel that for example will send this Message Level Response MLR to the sender.
The below example will show you how to configure a channel that will receive the Message Level Response MLR received from PEPPOL Gateway Out in this channel and send Message Level Response MLR to the sender.
1- Create a new channel and name it for example "Send Message Level Response MLR to the sender". You can give it any name you want.
2- Create a Gateway In of type Internal and name it MLR Response, as shown below:
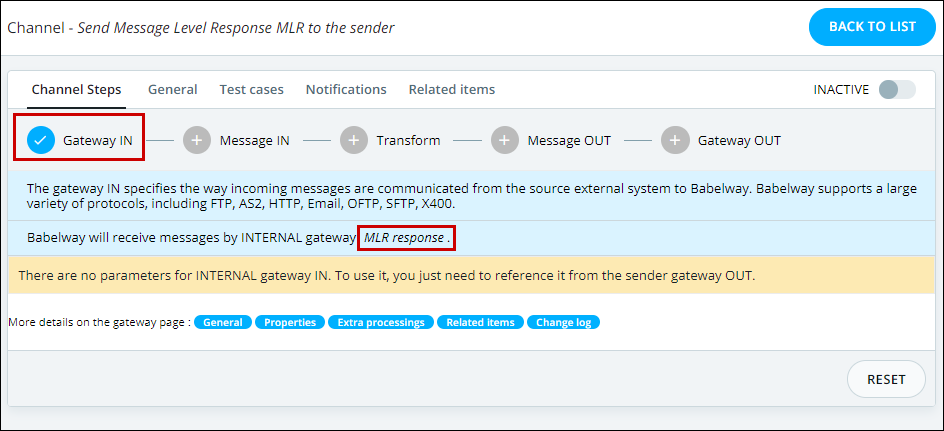
Send Message Level Response MLR to the sender channel Gateway In
3- Create "Message In" and "Message Out" of type "Not Defined" and a Transformation of type "No Transformation".
4- In this example, customer requested to receive the MLR Response through HTTP Client. Therefore, we have created the Gateway Out of type HTTP Client, as shown below:
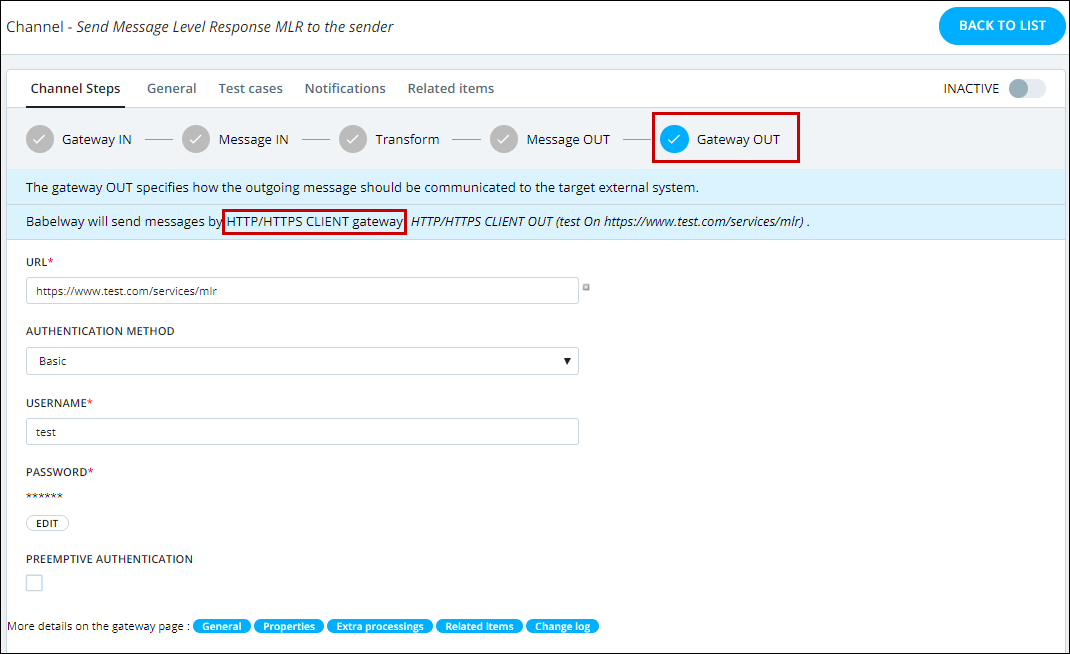
Send Message Level Response MLR to the sender channel Gateway Out
5- In the current example, the name of the channel that sends the messages through PEPPOL is "Send messages to PEPPOL". Click on "Notification" and create a new notification.
6- In "Target gateways", check "Failure" and "Success" for the Gateway In "MLR Response". With this configuration the Message Level Response MLR received from PEPPOL Gateway Out of the channel "Send messages to PEPPOL" will be send to the channel "Send Message Level Response MLR to the sender", as shown below:
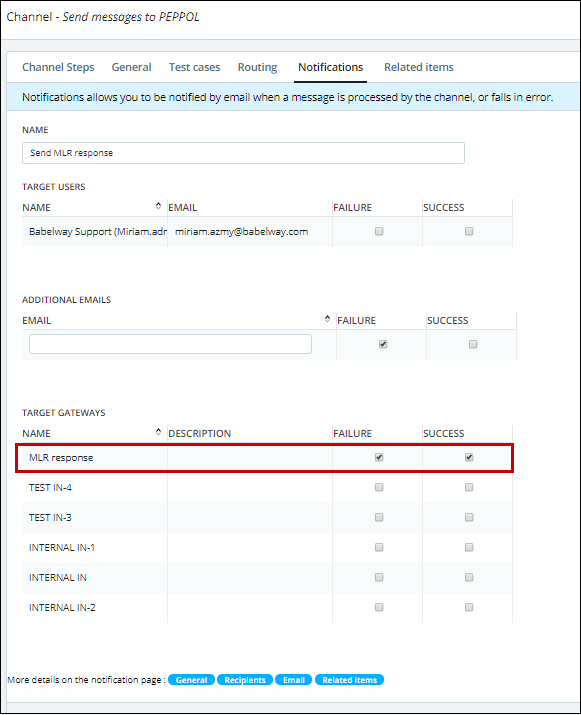
Send Messages To PEPPOL Channel
Once the channel "Send messages to PEPPOL" has sent a message to the Partner, the MLR Response will be received and will be sent to the channel "Send Message Level Response MLR to the sender", then this channel will send the MLR Response to the sender.
This tab allows you to configure the content of notification emails, for every type of notification. See notifications main section for precise conditions when each notification sent.
The email address 'from' of all the notification emails. |
|
The subject of notification emails, for "Success" notifications. |
|
The body of notification emails,for "Success" notifications. |
|
The subject of notification emails, for "Failure" notifications. |
|
The body of notification emails, for "Failure" notifications. |
These subject and body fields are free text fields that you can fill in as you want. In addition you can use Metadata to customize your messages adding dynamic information such as message name, account environment and channel identification, time and type of error...
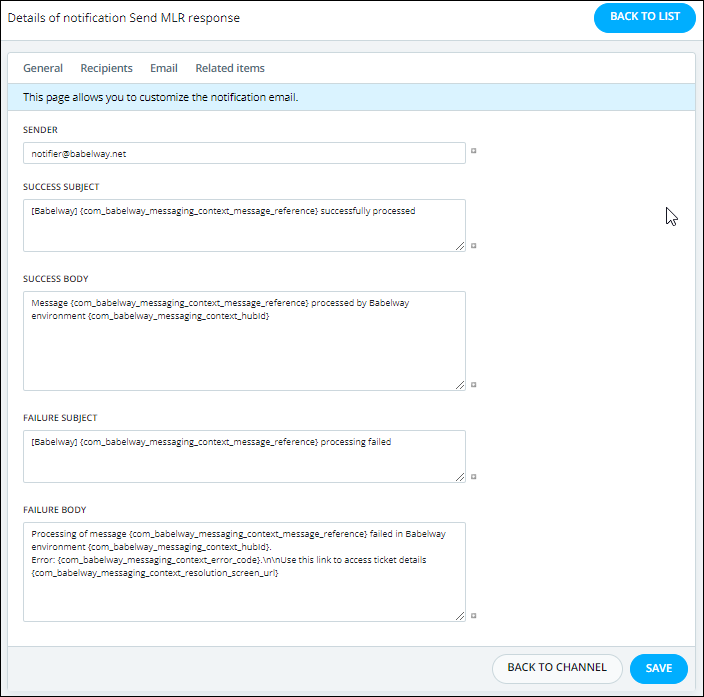
Notification detail - tab Email
Related items
This tab contains quick links to many other elements related to this gateway.
All the channels that use this element. |
|
List of gateways to which this notification sends messages. |
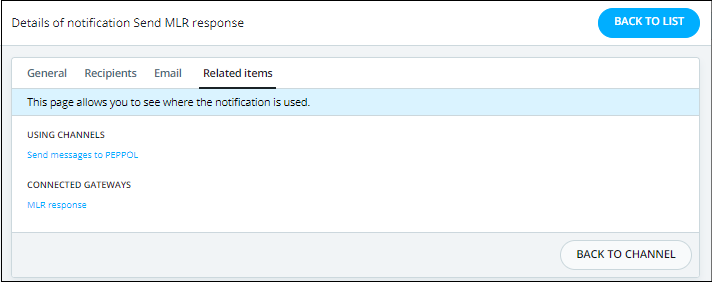
Notification detail - tab Related items
Assign notification to Channel
In Order to assign a notification to channel you need to open the channel and then open the notifications , you can type the notification name in reuse and save time , OR create a new notification to be used by this channel.
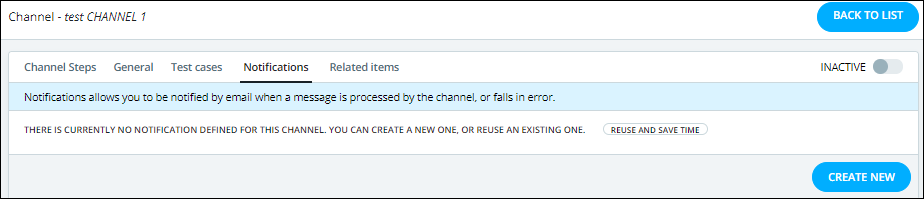
Assign/Create notification for channel